Monday, October 31, 2011

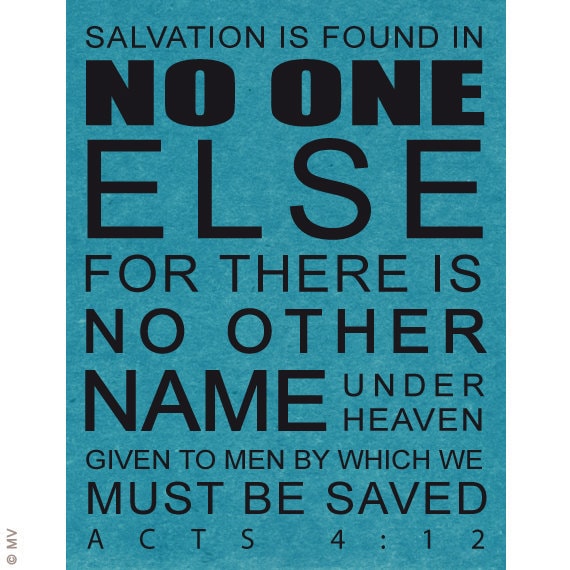
Thanksgiving subway sign

This sign was actually finished last fall, but it was too close to Thanksgiving to get it posted before everyone was focused on Christmas!

I’ve seen a lot of subway tutorials floating around, but they always seem to involve some sort of vinyl cutting device.  And I’m sure they’re fabulous to have.  But since I don’t have one…  my subway signs are of the hand painted variety.  And really.  It’s not that bad to paint a few words on a sign.  It may not be as perfect as vinyl would be, but that just adds to it’s “vintage” charm ;)

10-31 008

It all started with a plain pine board I found in the shed.  After a good sanding, I based it in dark walnut brown acrylic paint.  Next came a layer of mustard yellow and then a coat of red, allowing drying time between layers.  The final coat is a called old parchment. Perfect! 

Before the words were added, I gave it a another sanding.  Because I wanted it to look aged, I made sure to sand enough to allow a few areas of red, gold and/or brown paint layers to show. 

10-31 007

Then it’s a matter of printing out a variety of words in different fonts and arranging them on the board.  Once I was happy with their placement, I used graphite paper to trace the letters onto the board, removed the paper and started painting! 

10-31 011Another bit of sanding after the letters were finished….

10-31 012

a coat of clear matte spray paint to seal and protect….

10-31 010

And we have a vinyl-less subway sign. 

Did anyone else notice the most prominent word is “pie?” 

Guess now y’all know what we’re really thankful for :)

Friday, October 21, 2011

Be Ye Thankful

I have this little watercolor I painted a long time ago.

016

But I was never happy with the frame.  This fall, it was finally Thankful’s turn to have a little makeover.

014

I found an inexpensive frame at the thrift store, gave it a coat of orange and a chocolate brown glaze. 

016

SO much better and

017

a fun reminder to count our blessings!

Friday lovelies. . .


FLYING SALMON

mosaic4e02d989f83e894f9170e99678b9bd586c4d0fe6

Full Treasury {HERE}

Wednesday, October 19, 2011

Candy Corn Cookie Dilemma

I have a problem. 
And it has bothered me a lot. 
I love making candy corn cookies in the fall.  I’ve posted the recipe previously {here}. 
Now, this is not a cause for national alarm and most people don’t even notice, but it KILLS me that all the candy corn don’t look like real candy corn.  Candy corn are supposed to be yellow on the bottom, orange in the center and have a little white tip.  But, when made like my previous instructions say,  they don’t work out in the proper color order.  Every other cookie ends up with a yellow tip and white bottom.    IMG_6515Trivial?  Umm, yeah, but I just could not let it go.  I felt compelled to eat remove the imposters and needed to find a new way of constructing my candy corn!  
Here’s what I did: 
I started with my Grammy’s Danish sugar cookie dough (recipe below or use your favorite sugar cookie recipe).
Divide dough into 3 parts… a little more than half for orange, about one-third for yellow and the smallest amount will be left plain for the tips.  Use gel paste food coloring for the orange and yellow portions and knead it into the dough. 
Now make like it’s Play Doh and form into three “ropes.”  Stack them up in the proper color order :)  Pinch, smooth and coax it into a triangle shape: 
025
Refrigerate until firm.  Lay onto one of the long sides and slice thinly.  I use a thin bread knife.  But try a chef knife if that doesn’t work for you.
023
Dust with sugar or sprinkles.  Or not.  Bake as directed for your recipe. 
See?  Every little tip is white.  And all the bottoms are yellow.  Lovely, no?
028
  The birds are singing, the sun is shining brighter and now all is now right with the world…
029
So rest easy, friends.  I’m here, solving the world’s most pressing problems for you. 
DANISH SUGAR COOKIES
2 1/4 cups all purpose flour
1 1/2 teaspoons baking powder
1/2 teaspoon nutmeg
1 1/2 teaspoons grated lemon rind (the dried kind in a jar is fine)
1/2 cup vegetable shortening
1 cup sugar
2 eggs, well beaten
1 tablespoon cream
Cream together the shortening and sugar. Add eggs and whip until light and fluffy. Add cream, nutmeg, lemon rind, and baking powder and mix. Stir in flour to make a firm dough. Chill at least 1 hour. Roll thin and cut out with a floured cookie cutter. Place cookies on a lightly greased cookie sheet. If using sprinkles, add them before baking. Bake at 350, 7 minutes for thin cookies- up to 12 minutes for thicker cookies.

Sunday, October 16, 2011

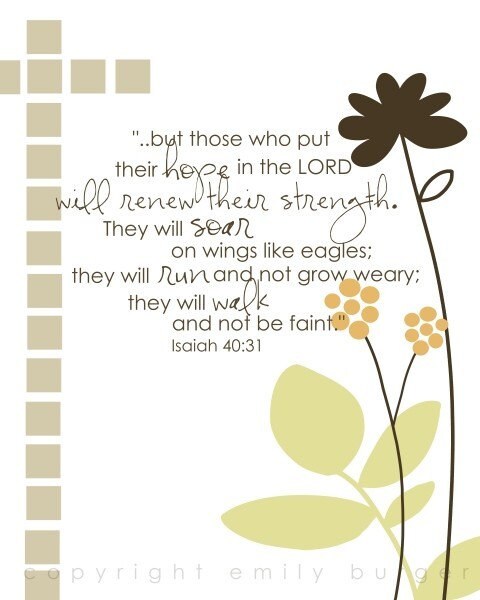
Soaring

                                                                via

Friday, October 14, 2011

Friday lovelies

Pumpkin Holler

Fresh from the patch. . .

pumpkin holler mosaic

All these pumpkiny goodies were handmade by Etsy artisans.  Click HERE to visit the individual items in this treasury. 

Thursday, October 13, 2011

Thursday update

Finally got [THESE] little owls finished…
001002009
What do you think? I love them and am thinking of making owls on a limb for other seasons. . . Christmas, Winter Snow Owls,Valentine’s Day, Spring. . .
I relisted some old favorites.  They’ve always done well – I’m just a little tired of making them :)  They each are the last runner in their design.
024034077 
{Click photos to visit a runner in my shop}
And finally:
048
Prim raggedy bearded SANTA ornies/bowl fillers!

Tuesday, October 11, 2011

Scarecrow Crunch

007
I made my own little version of THIS recipe from Pinterest. 
Mine is a little different.  I had to change a few of the ingredients.  Mainly because I was pressed for time and could only make one grocery stop. 
Thus, I used honey nut cheerios instead of oat squares.  And they were out of chocolate teddy grahams.  So mine are plain. 
It’s still REALLY yummy though. 
002
SCARECROW CRUNCH
4 cups crunchy oat squares (used honey nut cheerios instead)
4 cups tiny twist pretzels
1 bag (22 ounces) autumn mix (used candy corn only)
2 cups Reese’s pieces
2 boxes caramel popcorn (Crunch ‘n Munch)
1 box chocolate Teddy Grahams (used plain animal crackers)
Mix gently in a large bowl.  Store in airtight container. 
Give it a try!

Tuesday, October 4, 2011

Bandito Hot Dogs

2422123940_0765d4f3dc
This is an updated post for my new followers who may have missed this easy crockpot favorite.  The original recipe uses canned chili.  Which is fine.  If you have canned chili it will be delicious.  But we like to use BIG BATCH CHILI from the freezer stash. 
BANDITO DOGS 1 (1 lb) package hot dogs
4-5 cups homemade chili OR 2 (15 ounce) cans of chili
8 ounces cubed Velveeta cheese
1 (4 ounce) can chopped green chilies, drained & optional

TO SERVE:
Hot dog buns
Chopped onion or green onion
Mustard
Ketchup
Crumbled Fritos
Shredded cheddar cheese
Jalapeno slices
Anything else your little heart desires
Combine the chili, Velveeta, and green chilies in a slow cooker. Gently mix in hot dogs. Cover and cook on low for 4-5 hours.

Dig in. Serve hot dogs in buns, piled with chili and your toppings of choice.

LinkWithin

Related Posts Plugin for WordPress, Blogger...